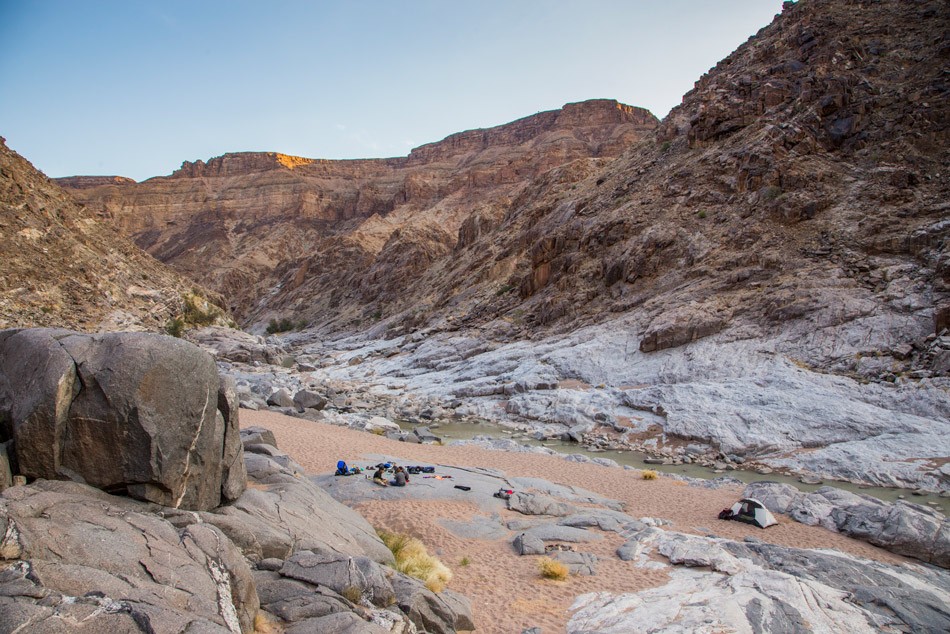
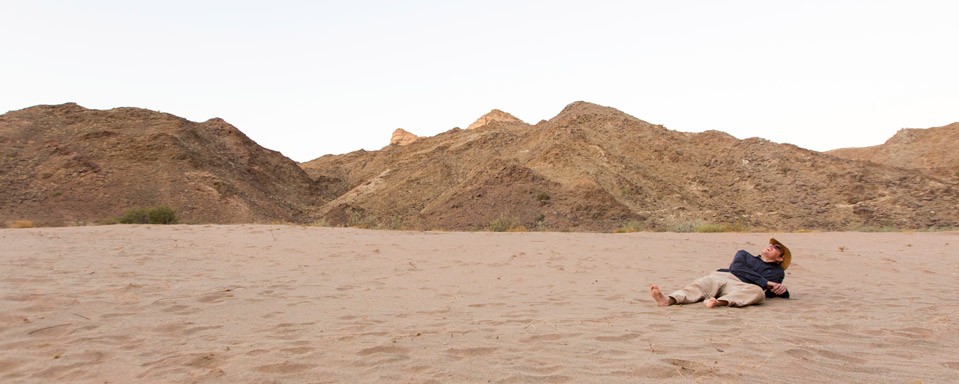
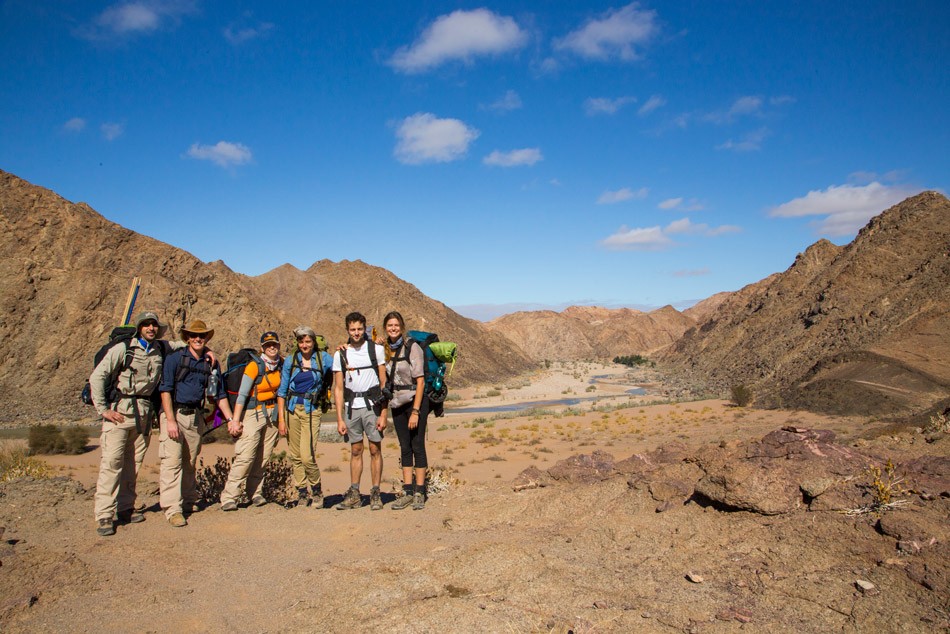
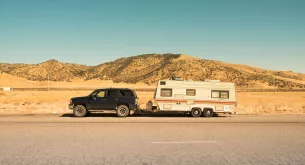
Chris Davies and I tackled this infamous, and stunningly beautiful, 90km trail in Namibia. Here is our guide to hiking the Fish River Canyon yourself.
‘I heard people lose their toenails on the steep descent. And that bugs crawl into your ears at night so you have to stuff them with cotton wool.’
‘Well, I heard that there are only two emergency exits, and the only rescue is by helicopter.’
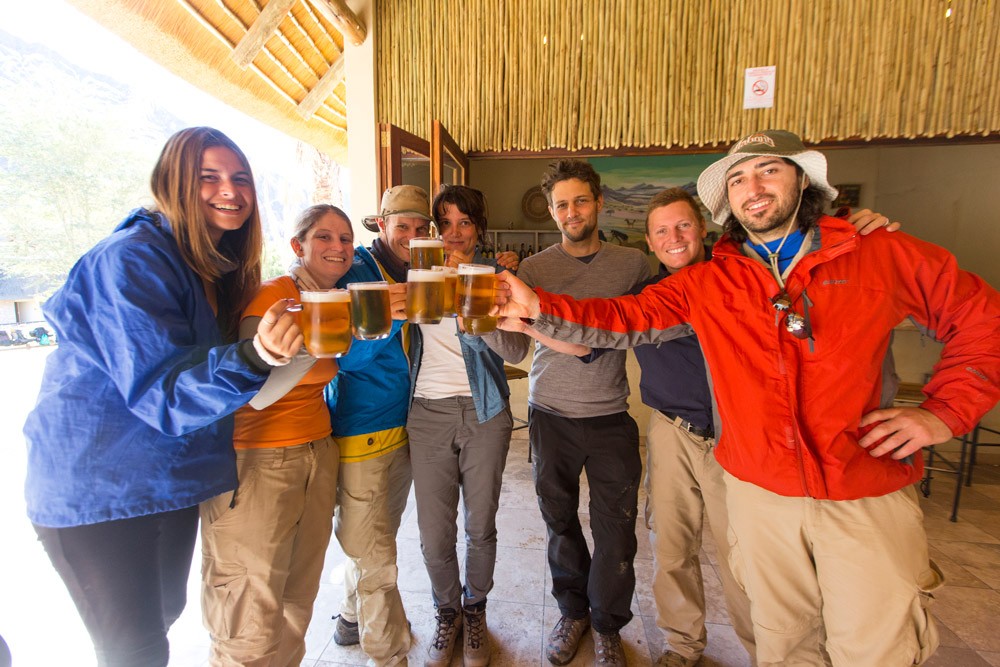
This was how the conversation flowed at our pre-hike planning session at the Devil’s Peak Brewery the week before departure. We’re poring over incomplete medical forms downloaded off the Internet and struggling to make ourselves heard over the trendy blues music wafting from the live musician behind us.
The issue was glaringly obvious: none of us had a source of information which we could trust and compare against. Some reports claimed the hike was a breeze, you could practically trot it in a few days, while others stated that only Serious Hikers with Extensive Experience should attempt it.
On our third or so round, we decided to throw in the stress towel and just see what awaited us.
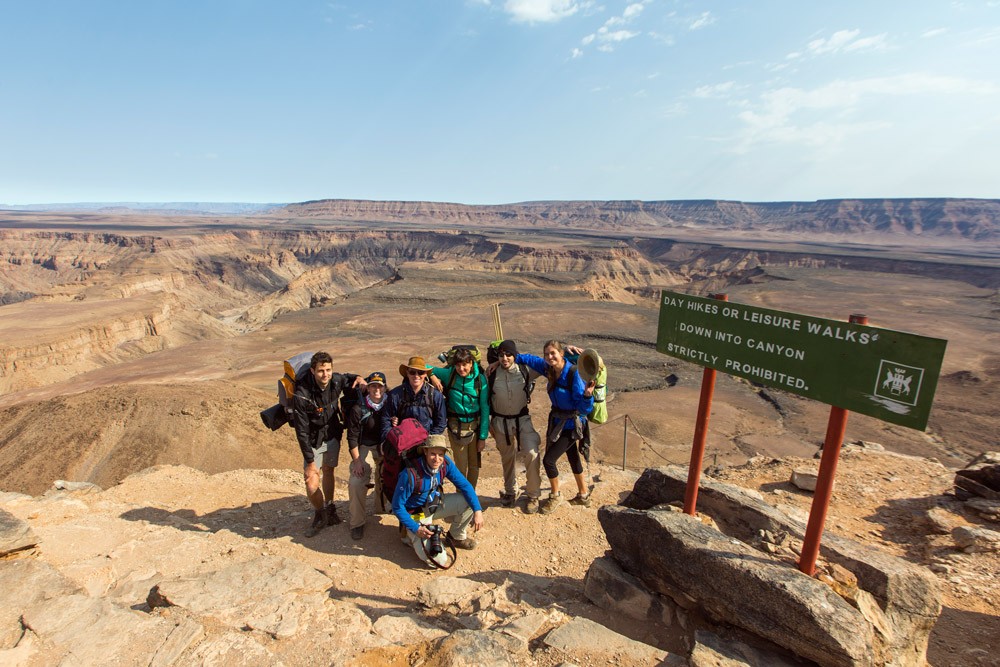
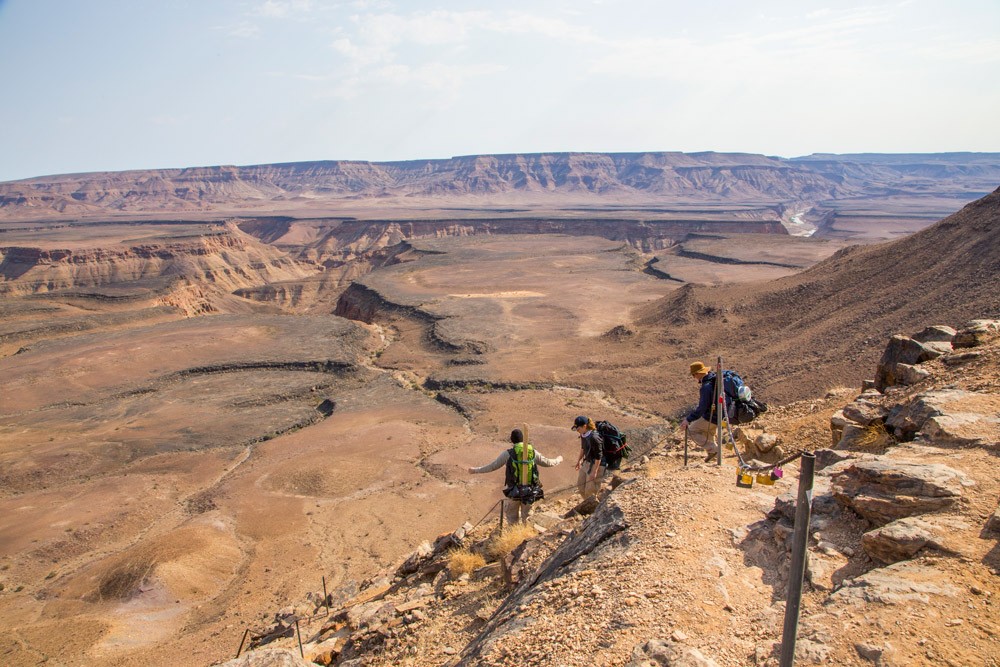
The Fish River Canyon is immense. We stood on the edge, shifting our unruly backpacks, while an unfriendly sign warning against day hikers held back the crowd around us. Feeling just a little self-important, we took the first steps towards the chain handrail. We had no idea of what to expect, and the combination of exhilaration and anticipation was palpable.
Day 1: The descent
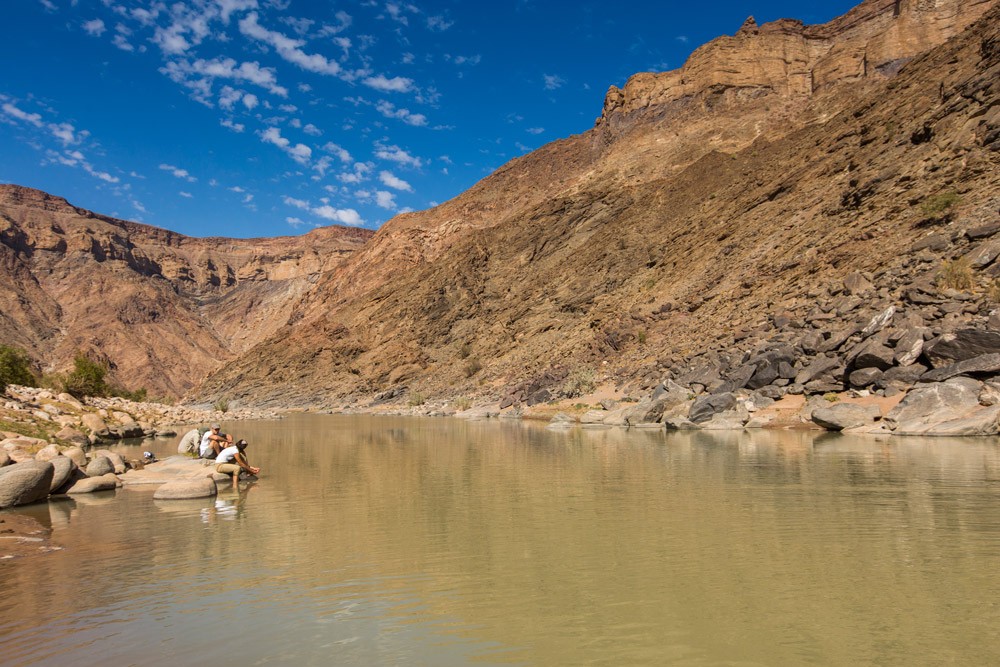
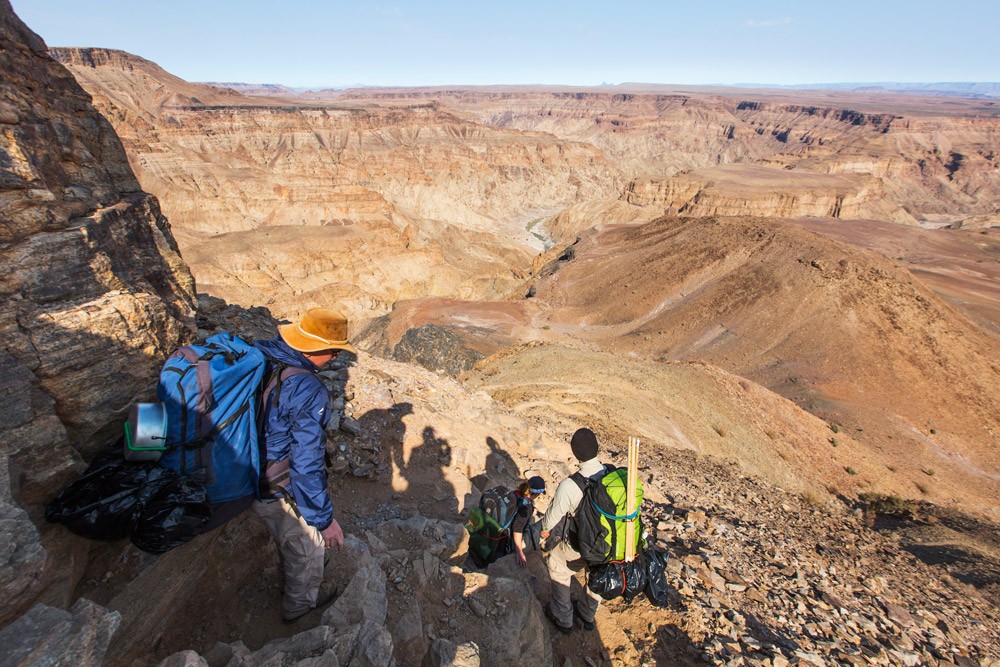
It’s not so bad! Yes, it’s steep, and getting used to the dimensions of All That Stuff you’ve packed onto your back takes a while. It took us around an hour and a half to descend the canyon wall. We reached the bottom around midday and were given our first introduction to the Fish River. It looked unappetisingly murky. After a brief lunch, we continued hiking and stopped for the night after 5km.
Survival tips
- Fill up all your water at Hobas campsite before departing.
- If you leave your vehicles in Ai-Ais (where the trail ends) you can arrange a lift with the NWR park officials from Ai-Ais to the start of the trail on the canyon edge (R150 per person – minimum of R450 per trip). If you’re leaving a vehicle at Hobas, you have to leave it at the campsite – about 10km from where the trail actually begins. We left a vehicle in Hobas and drove everyone to the start. Then the driver returned the car to camp and hitched a ride back to the canyon. There’s a lot of traffic along the access road so it only took a few minutes to find a lift.
- Don’t leave your Ai-Ais keys in your Hobas car like we did.
- Pack fancy food: this is your last chance to eat decently, so feel free to take along luxury food items to eat and drink on the first night – just remember that any tins and rubbish will have to be carried with you for the duration of the hike – or burnt in a fire along the way. Spread firewood amongst your group and take it along with you on the descent. Wood is scarce along the trail on the first day.
- Don’t drink all your wine on the first night.
Day 2: Hot springs
This is the hardest day in terms of terrain – plenty of trudging through thick sand and clambering up and over loose rocks. We only covered about 12km in approximately 7 hours of hiking and were starting to worry about our pace at this point – how on earth were we going to finish 90km in the 5 days, 4 nights we’d allowed for??!
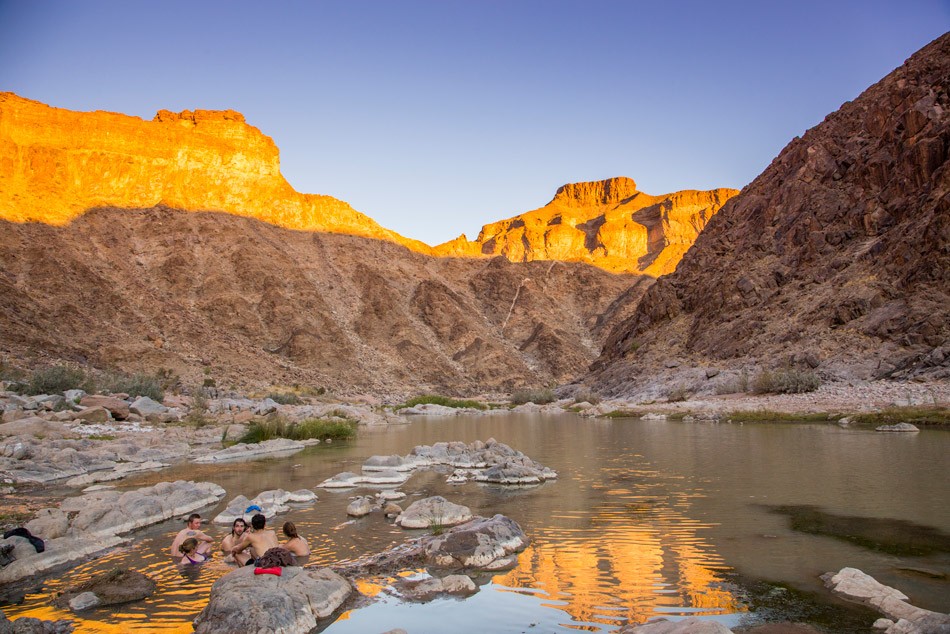
We camped that night at the Palm (Sulphur) Springs, by far the highlight of our journey. You soon stop noticing the faintly eggy smell as the deliciously warm water makes friends with your aching muscles. The spring trickles out from a hole on the bank and flows 30m down a narrow channel into the main river. It’s 65oC as it comes out, so way too hot to bathe in, but becomes perfect as it flows into the river and mixes with the colder river water. That night we flopped into the shallow, muddy rock pools on the river’s edge and stargazed from our natural hot-tub.
By now we’d worked out that the best piece of equipment brought with was Chris’s water pump, which we lovingly renamed Pumpous Maximous. Drinking water from the opaque river really isn’t appealing – especially near the springs – but after passing through the pump it tasted better than the tap water at home. Glad we never had to use the nasty chlorine tablets we had as backup.
Survival tips
- Flavour your water with Game or a similar energy/rehydrating powder – especially if you are using chlorine tablets or drops. It tastes better and helps keep dehydration at bay.
- Keep an eye on your map for motivation. In fact the photocopied map we got at the start was barely legible (try this one instead). The offline mapping app we used was an excellent addition.
- Watch your step! The first of the boulder hopping begins on this stretch, and a misplaced step will end your hike. Even a minor twisted ankle would completely ruin the experience, and small hurts will only be magnified along the route. If your feet get wet, stop and dry them before continuing.
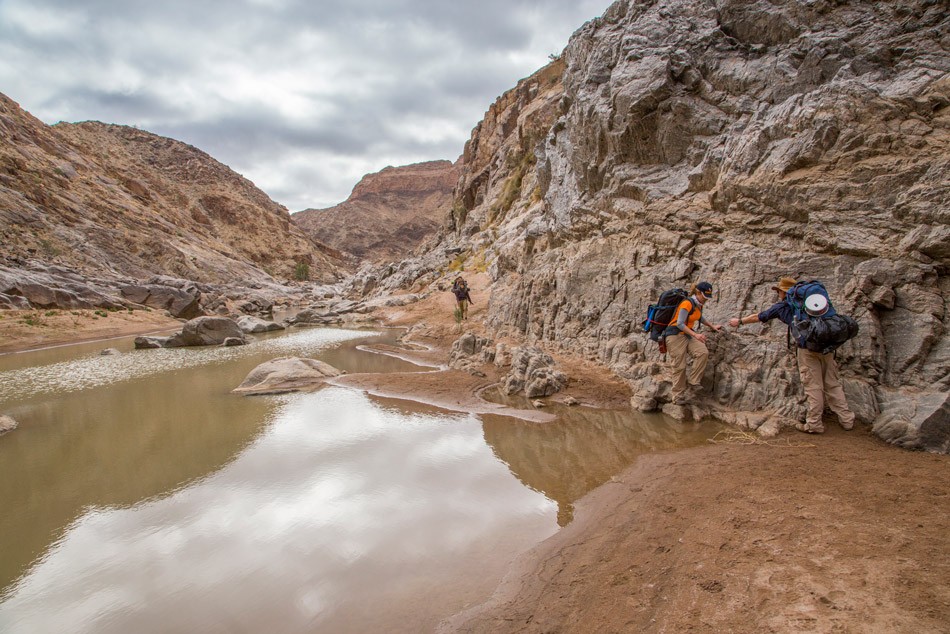
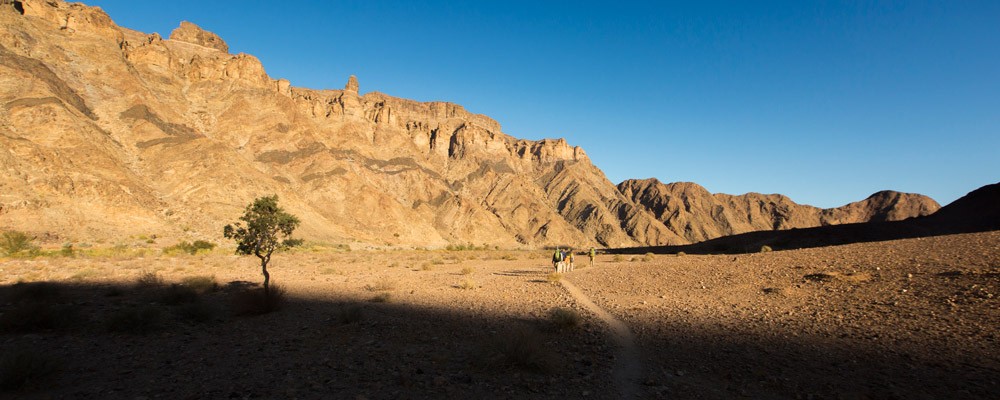
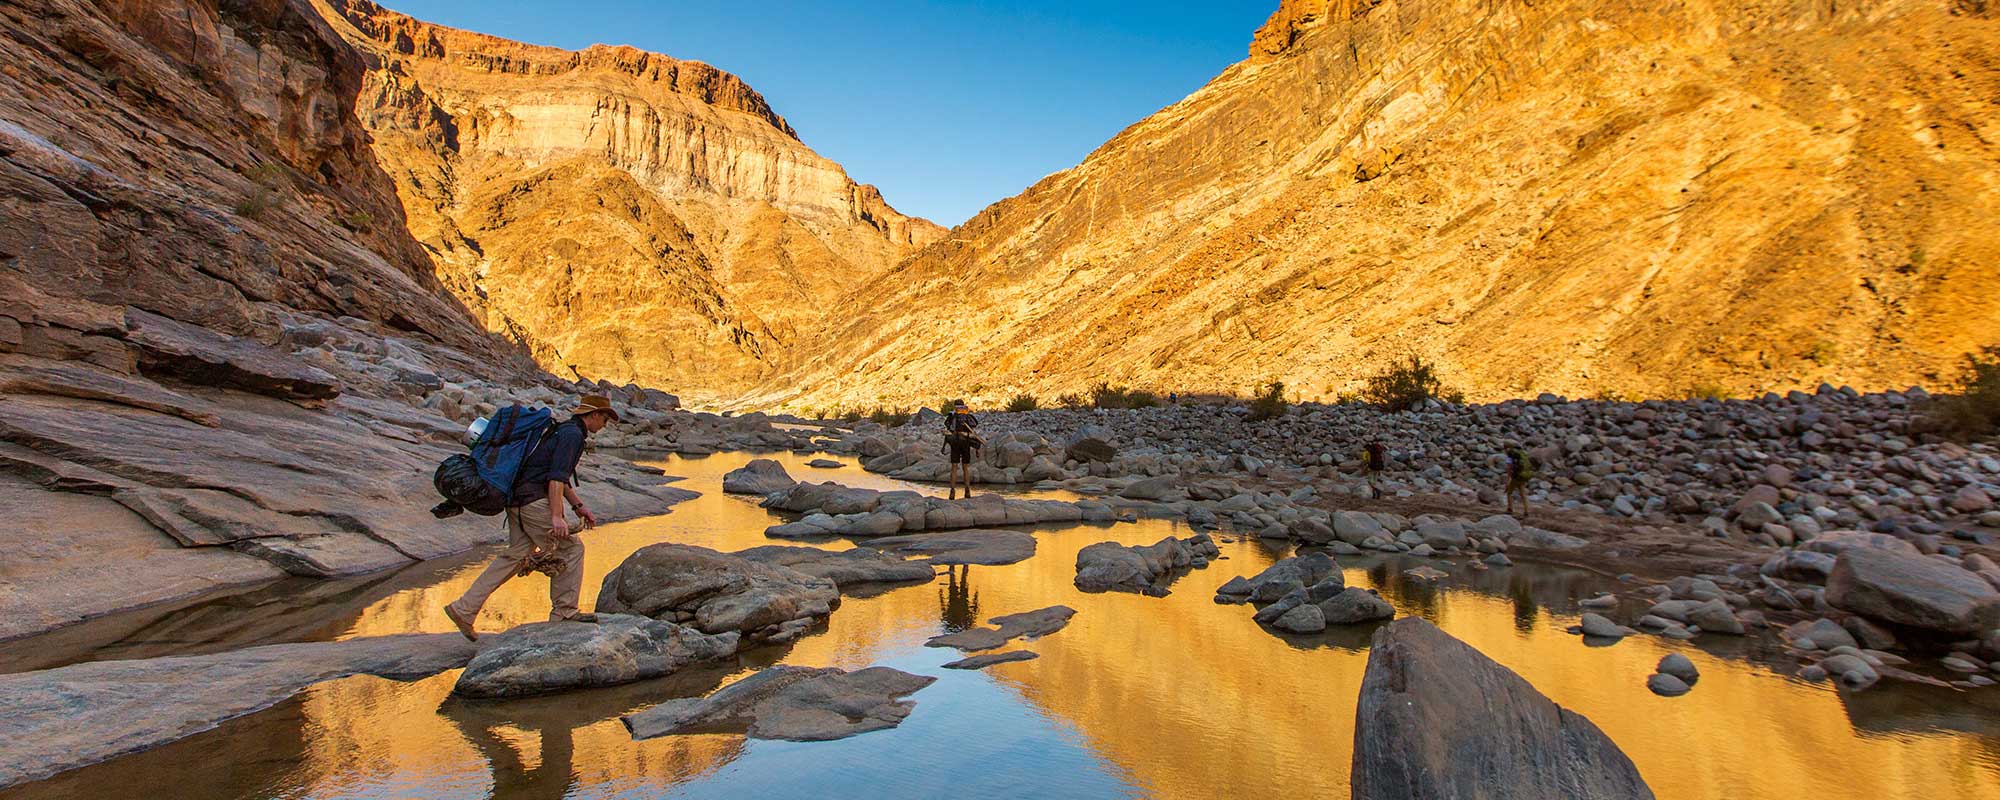
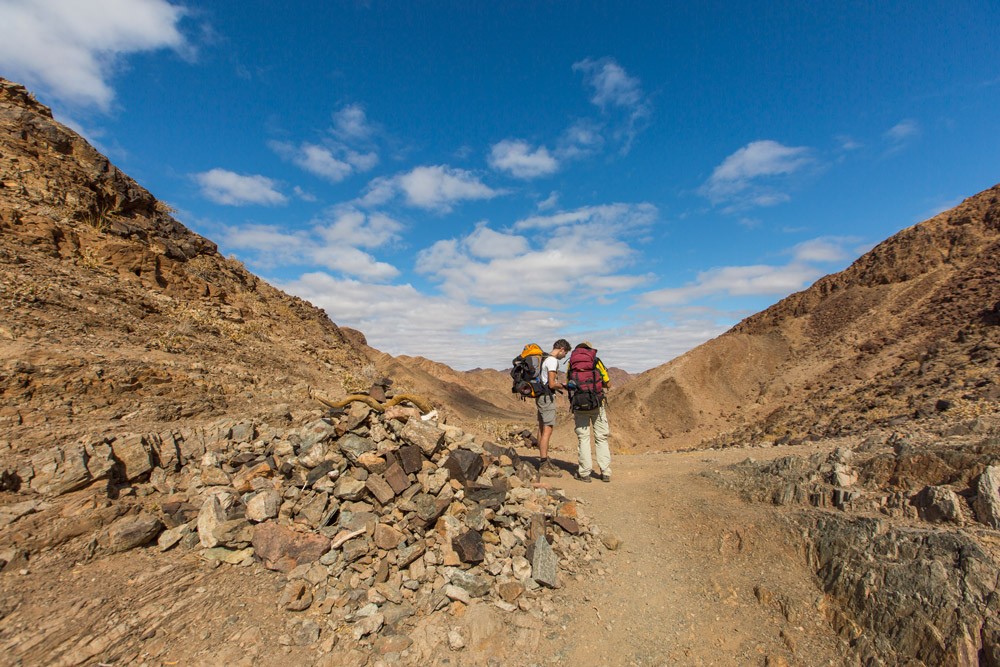
Start of day two held the trickiest terrain, which was still very manageable (even to myself, an inexperienced climber). Photo by Chris Davies.

Vidi the scooter is the last of the trio, Veni, Vidi & Vici, that made their way down the canyon in an expedition in 1968. More info about the trip can be found here. Vidi has recently been repainted a more zebra-like black and white. For more info see the comments below. Photo by Teagan Cunniffe.
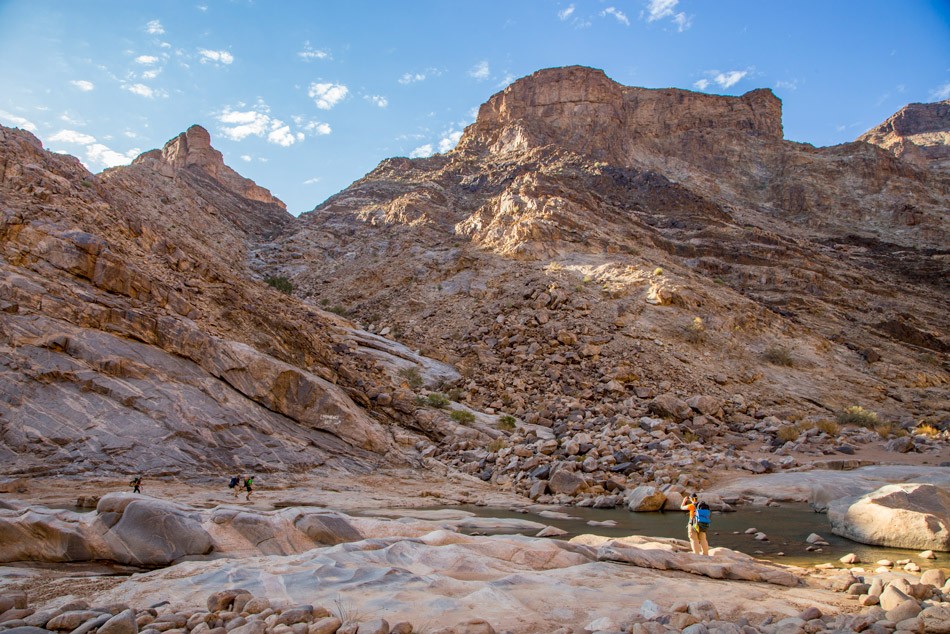
It doesn’t really matter which side of the Fish River you choose to walk, but you can cut the corners if you take the inside bank on wide bends. Photo by Chris Davies.
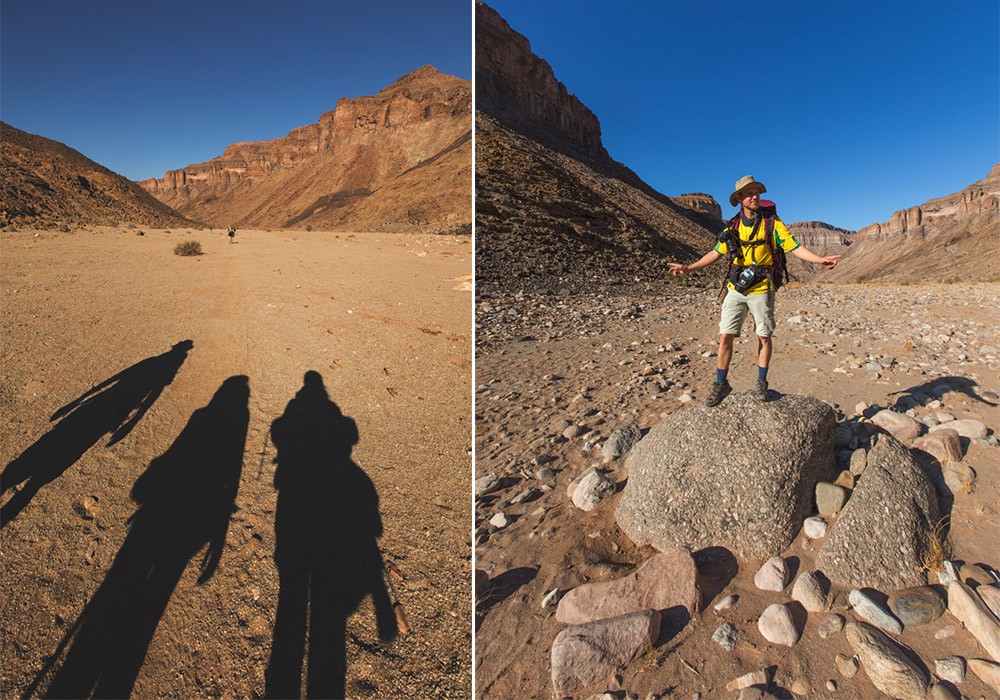
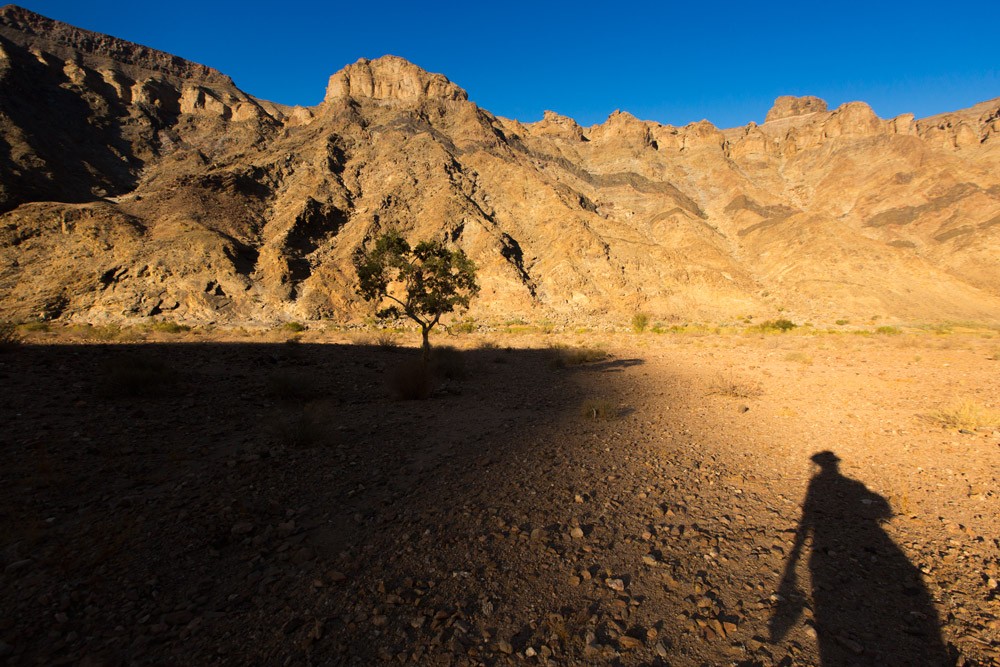
Harsh shadows and Chris rocking it out on a… rock. Our Capture Pro camera clip came in very handy on this trip! Photo by Teagan Cunniffe.
Day 3: The long haul
This day involves some trudging through thick sand and over rocks, but it gets easier as the day goes on.
We awoke to find a group of hikers passing us – but going in the wrong direction. We recognized them from a few days earlier when we passed through Ai-Ais, where they’d told us they’d just finished the hike in three days. We could only assume they had walked the canyon, stopped at Ai-Ais, and then turned around and walked back along the canyon to Hobas. This feat of insanity became the main source of our conversation for what was to be our longest, and perhaps toughest day’s walk.
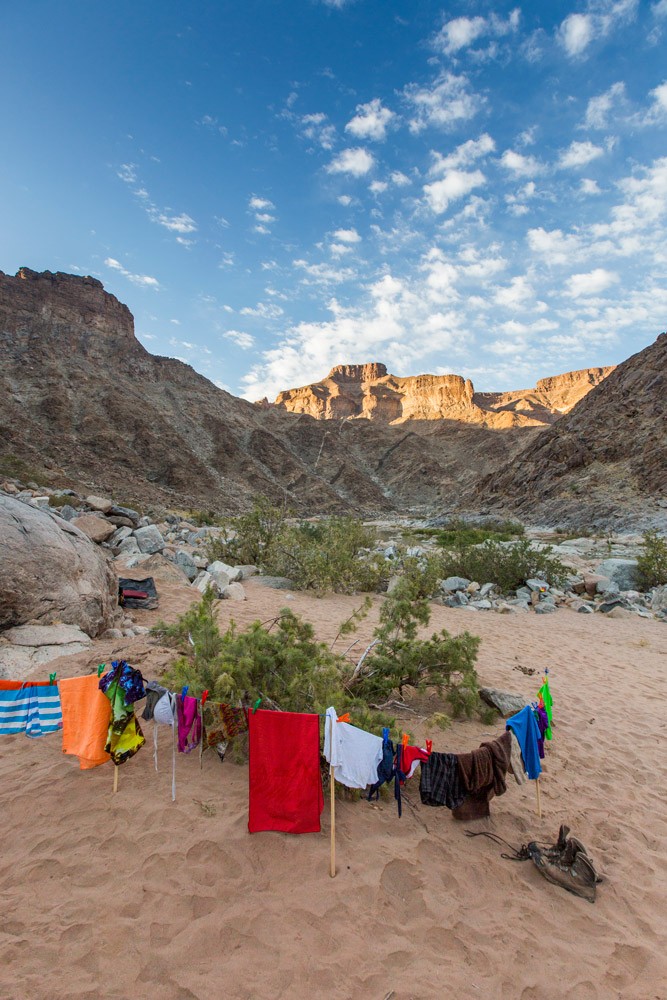
By now our routine was to start walking at 9:30ish, grab a quick lunch at 13:30ish and camp at 16:30ish so we’d have time to swim and chill.
However today, breaking for lunch around 13:30 was a mistake. After taking off our shoes, having a quick dip in the river, and lying about on the warm rocks for a hour, our muscles seized up and the last part of the day became unbearable. Except for Ann. She bounced up ahead along the path while I cursed her disappearing back.
It’s a long day – we started day three having hiked only 17km, and set camp that night at just over the 40km mark (group high-five).
Survival tips
- Take short snack breaks, not lengthy lunches. Keep food on you to pick at while you walk.
- Make sure you have all the essentials covered: plenty of water, suncream and a hat.
- Use high-top boots if you can – they help to keep the sand out of your socks.
- Start working on your random conversation skills, because all sorts of topics come up to pass the time.
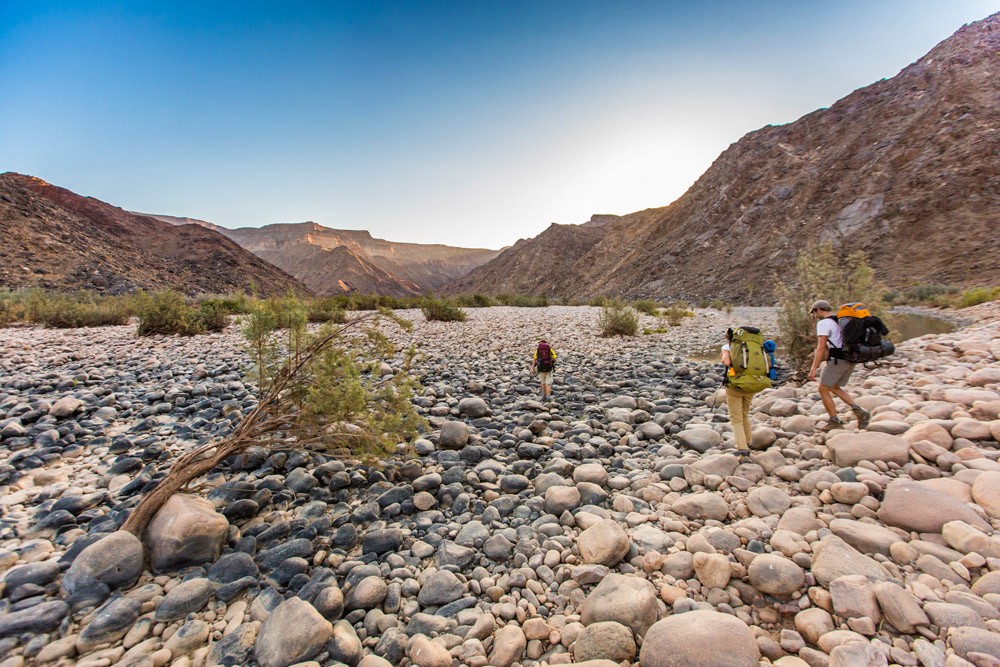
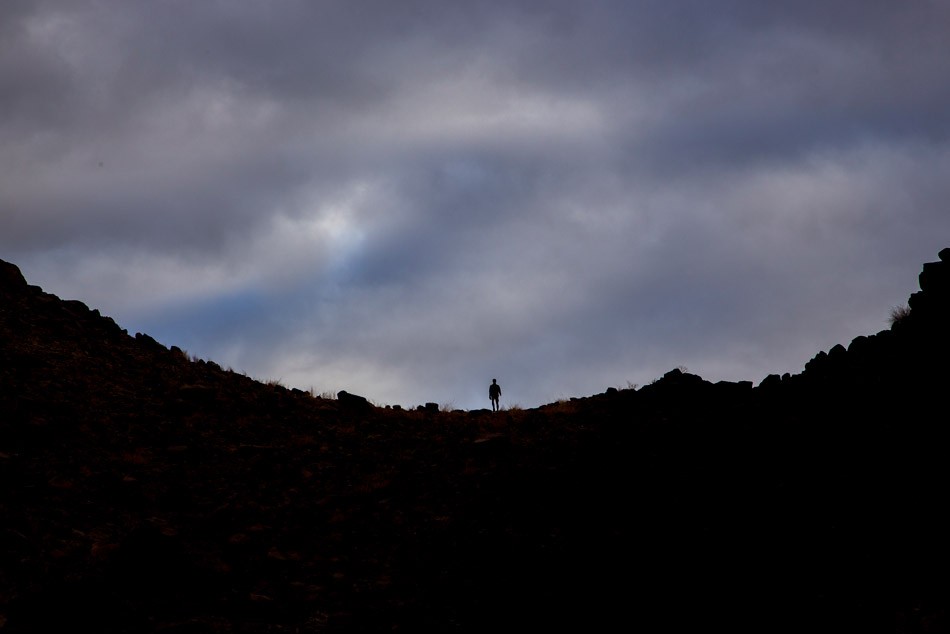
Having just passed the 40km mark, we used up our last energy reserves to get to Dassie Ridge, our camping spot for the night. Photo by Teagan Cunniffe.
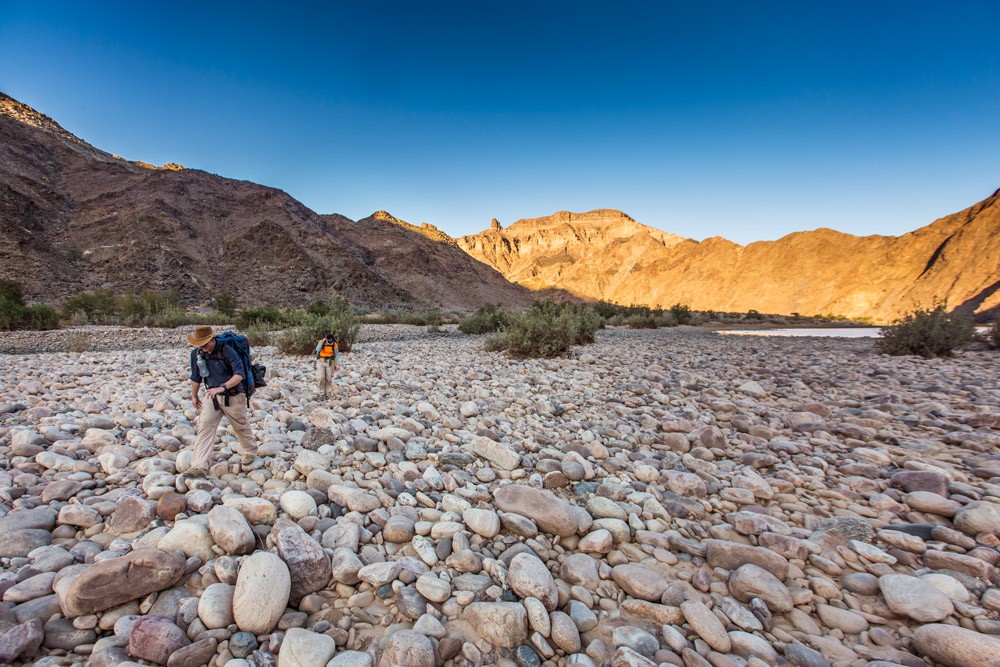
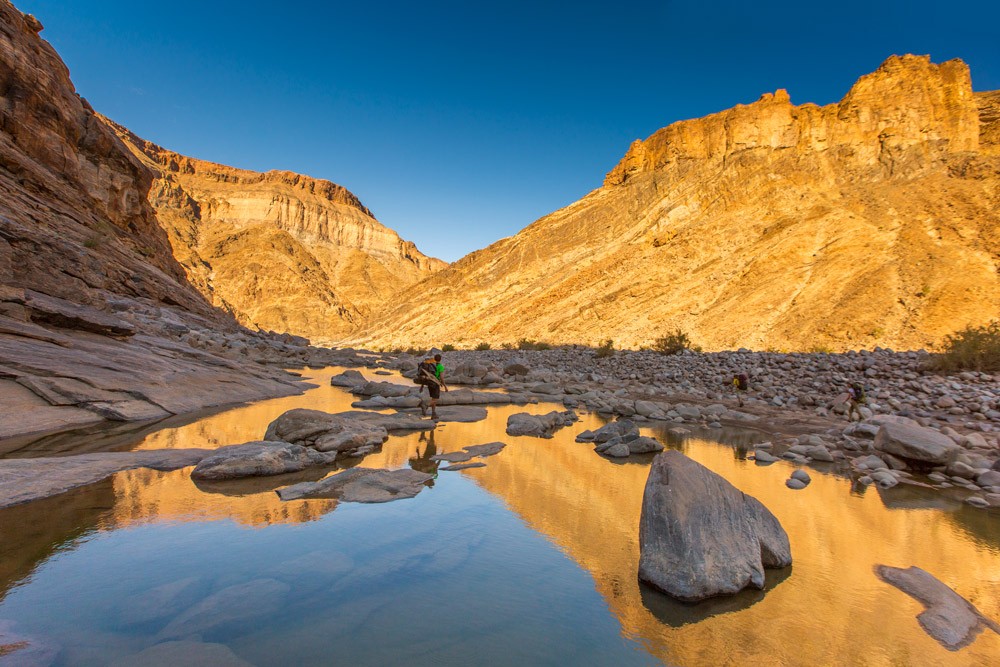
Jarryd pushing on over the small rocks, which cover the canyon floor as far as the eye can see. Photo by Teagan Cunniffe.
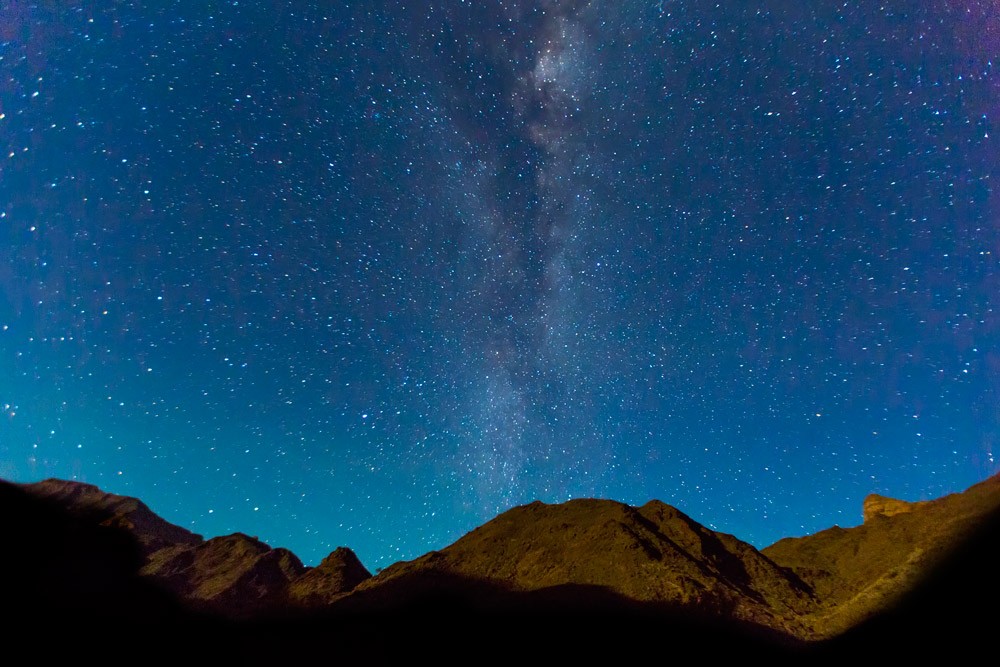
The night’s sky reveals the bowl of mountains that we found ourselves in. I realise I can use a pot as a tripod. Photo by Teagan Cunniffe.
Day 4: Speed boosters
This day involves some trudging through thick sand and over loose rocks, but I felt good. My bag was significantly lighter, and I doggedly forged to the front of our evenly-paced hiking pack.
Day four is mostly level with a few handy shortcuts over some low mountains. We’re not sure how much distance we actually covered on day four – the shortcuts shaved off significant chunks – but we ended the day just past the 70km mark. That would make this the longest day at nearly 30km, but judging by the time we took we guessed actual ground covered was similar or slightly less than day three – somewhere around 23km.
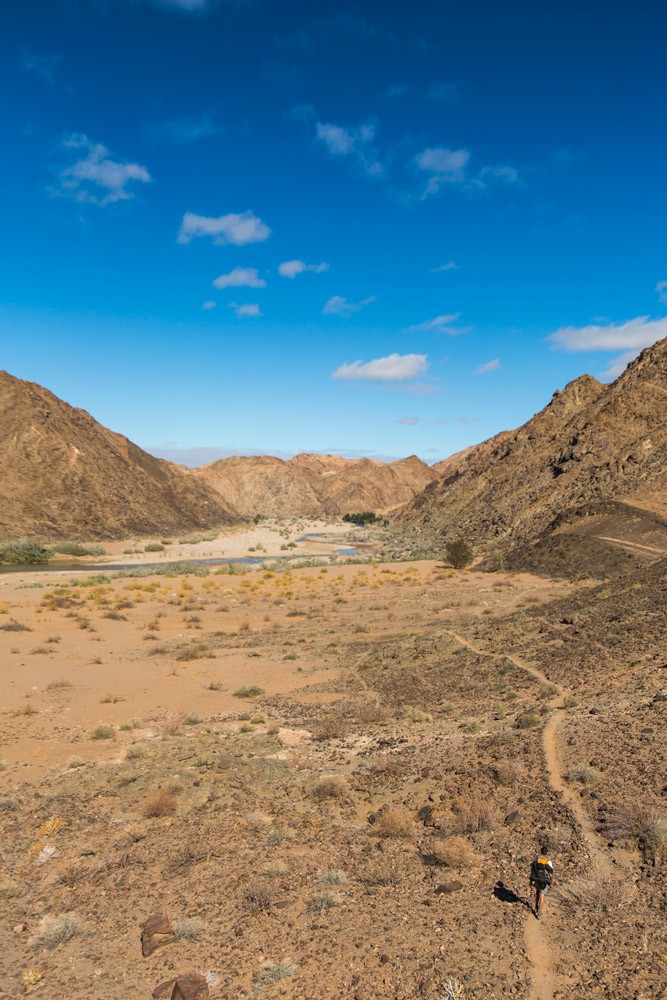
The shortcuts also awarded us changes in scenery and beautiful views of the canyon floor. The pace had picked up exponentially since the first two days and we realized our fears of not making our five-day goal were unfounded.
Survival tips
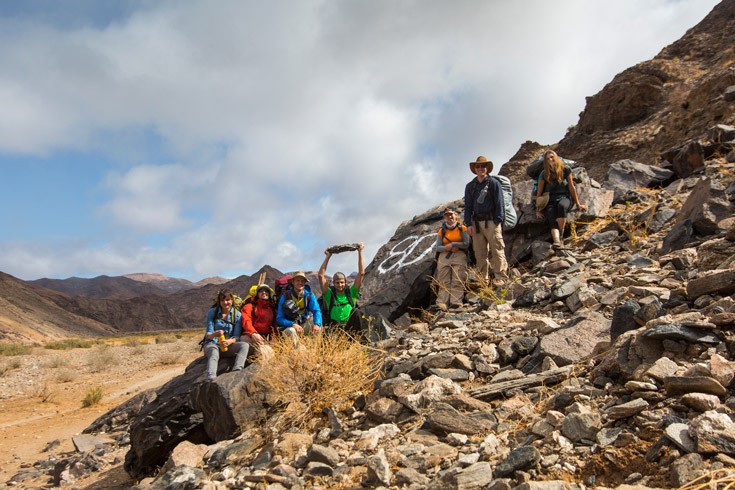
- Keep a close eye on your map for the shortcuts. Most are clearly marked on the trail with white paint on prominent rocks, but you might miss them if you’re not sure where you are.
- Take painkillers, creams and plasters for blisters and other aches.
- Make sure you’re carrying plenty of water before attempting a shortcut. The trail is hotter up off the canyon floor and although the climbs are short, they’re steep and thirsty work after four days of hiking.
- Look out for the grave of the German soldier which (at our pace) you should reach at about lunch time on the fourth day. There’s a nice spot for a quick lunch break less than a kilometre further on.
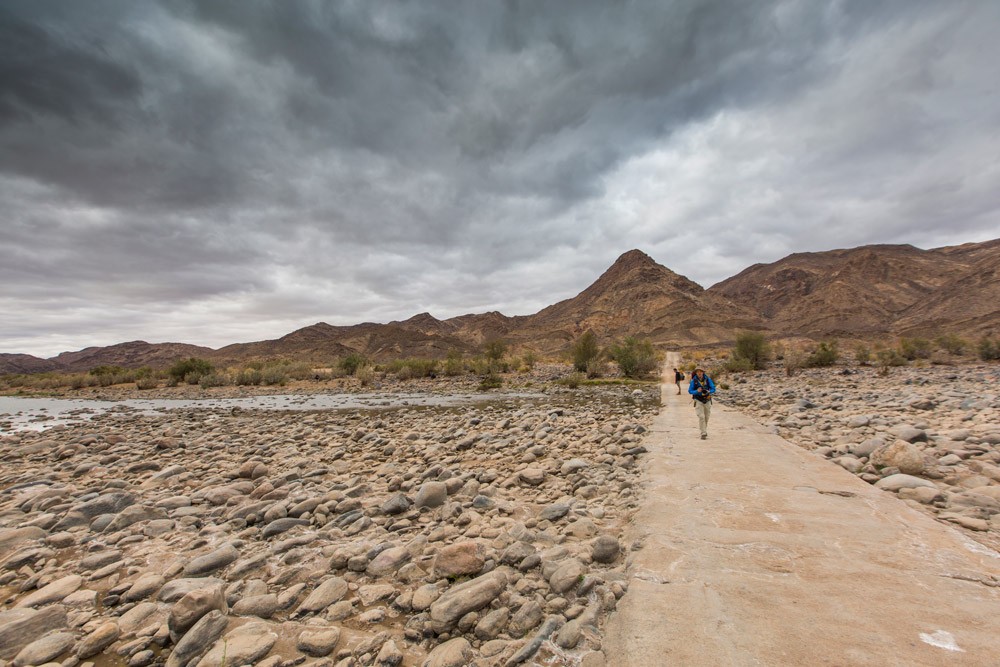
Clouds roll in as we see our first sign of humanity – a concrete causeway road across the river. Photo by Teagan Cunniffe.
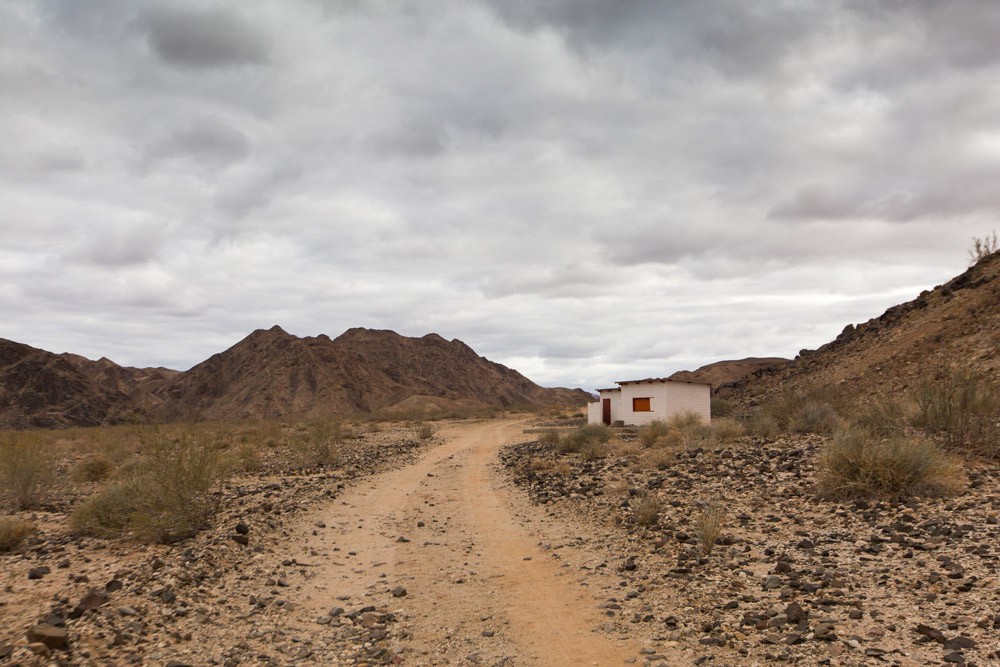
…which leads to what used to be – or might yet be – a tuck-shop selling drinks to passing hikers. Photo by Teagan Cunniffe.
Day 5: Drink all the beer
The last stretch! Yes, there’s sand and some loose rocks, but it’s flat and fairly easy going.
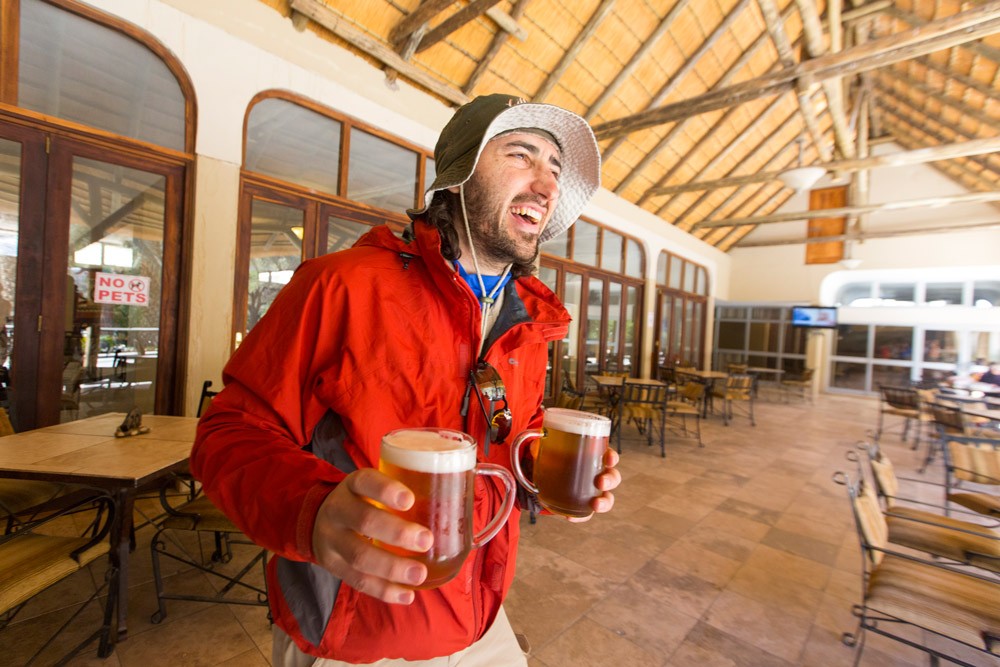
We woke this morning to rain. It wasn’t hard, but the persistent drizzle was quickly soaking packs, and those who had slept in the open understandably wanted to get going and hit the trail. Our eagerness to reach the finish line was only amplified as we walked, taunted by the thought of a hot shower and proper food at Ai-Ais. The last section of the hike is endless, and by now it’s fair to say we were happy to reach the end and exchange our backpacks for a cold beer.
Survival tips
- Enjoy the last bit of it. You’ll soon miss it, I promise you.
- Make bets on your arrival time (person with worst time-guessing (me) owes everyone a round!).
- Look around at the increased animal activity and write your name on the canyon floor in small rocks.
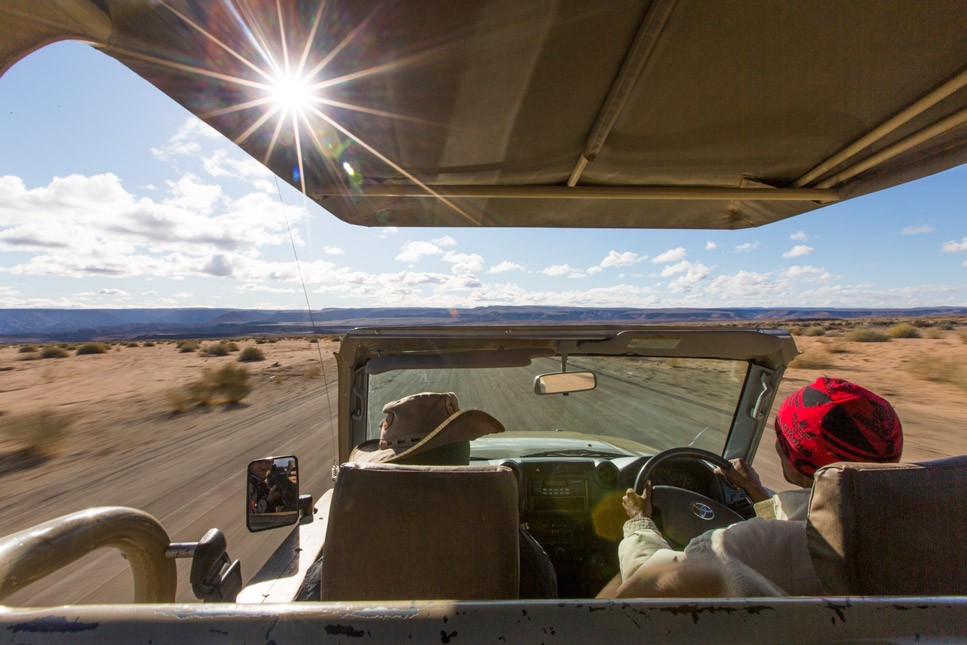
En route to fetch our cars from Hobas. Transfers from Ai-Ais to Hobas cost R150 per person (minimum rate R450 each way). Photo by Teagan Cunniffe.
In conclusion
Why do it? Because when you finish, you will miss those canyon walls. Life is a simple mix of walking, eating, laughing and boulder-hopping. At night, the canyon encircles you in its dark arms and you fall asleep to a sky pricked by the light of countless stars. For those of you who love a bit of healthy outdoor exercise and camping, it’s an experience you will never forget.
Fitness level: Moderate. Endurance is essential; must be able to handle long days of walking; there are a few short, steep climbs.
Experience needed: Minimal. Must be nimble on your feet though, with all that boulder-hopping.
Difficulty: We concluded it was perhaps slightly easier than the Otter trail, with its up-and-down terrain, but the long days do take their toll. Plan for six days if you’re nervous.
Paperwork: Yes, you do need to complete a medical clearance form and have it certified/signed by a doctor. Download the form here. You also need to complete a conservation declaration. Both must be presented at the office in Hobas before you start. (These forms were correct as of August 2015).
Map: Print out the route map before you leave as the office often runs out of copies. Download a map here.
Food and drink
A water filter pump is a huge advantage. Water purification tablets if not. If taking alcohol, decant it into plastic bottles before you leave. For meals we took:
Breakfast: Oat-So Easy or our own pre-mixed cereal.
Lunch: Provitas, Laughing Cow, biltong, snack bars, dried fruit and nuts, salami and tuna packets. Sweets and more snack bars for an energy kick on the trail.
Dinner: Back Country Cuisine freeze-dried meals (available at various outdoor stores) were excellent, although quite expensive. If you’re going for them, the Chicken Tikka Masala, Moroccan Lamb, and Roast Chicken and Mash were our favourites. One serving feeds one ravenous person, or two with lighter appetites. Two-minute noodles and extra sauce sachets filled in the gaps. Take some powdered soups in case you’re still hungry. You can also have a look at the Getaway taste-tests of popular lightweight hiking meals.
Sleeping
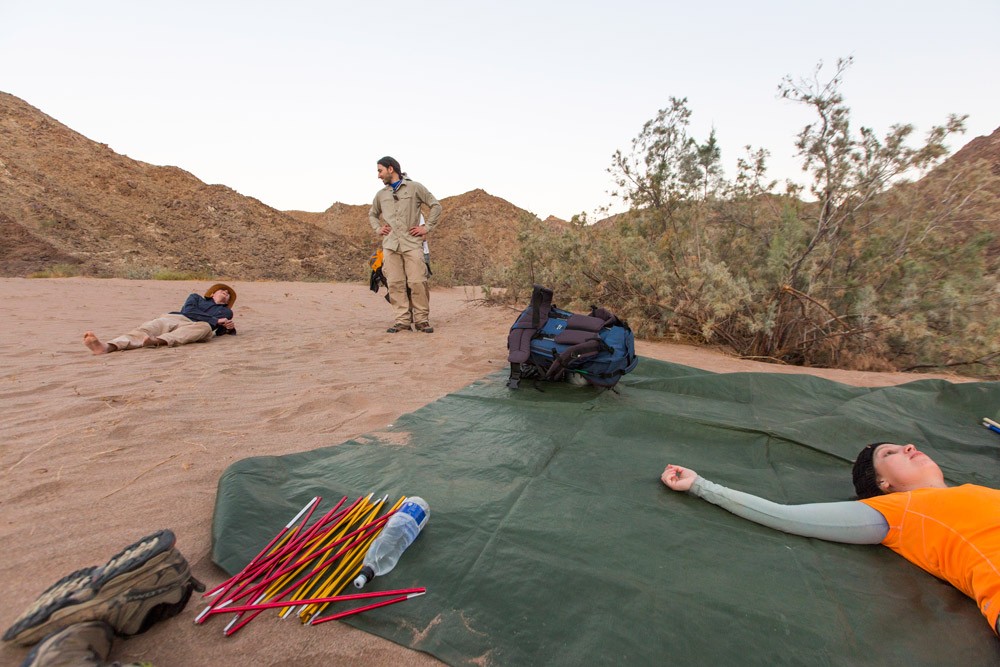
You can either sleep in the open (take a groundsheet for rain cover) or in a lightweight tent. We had a mix in our group, and those sleeping in tents got the better sleep. The wind picked up at night and sand in the face isn’t a great thing to wake up to. If you take a tent, you can leave the fly-sheet behind (at home!) to save some weight. Take a super-warm sleeping bag regardless. Thermals help too.
When to go
Book for new moon, when the night sky will be best displayed. It’s beautiful. The trail is popular so you’ll probably also need to book at least a year in advance. It’s only open from 1 May to 15 September (the drier months of the year), and is most busy during the South African and Namibian school holidays. Be prepared for the possibility of some light drizzle, but it doesn’t usually rain hard in winter.
A maximum of 30 people are allowed to start the trail on the same day. Bookings of less than three people are not allowed. Children under 12 are not allowed.
Cost
The hike costs R300 per person and is secured via a deposit of 10% (this is the 2016 rate, which has increased this year – it was R275 per person in 2015). Once at Hobas, you will need to pay park entry fees of R30 (Namibian citizens), R60 (SADC citizens) and R80 (international citizens), as well as vehicle fees of R10 per vehicle to drive to the trail’s start.
It’s advisable to camp at either Hobas or Ai-Ais before and after the hike. There is a shuttle running from Ai-Ais to Hobas which costs R150 per person, with a minimum charge of R450 per trip.
Access to the hot springs at Ai-Ais at the end of the trail costs R10 per person.
All prices correct as of August 2015. Please check with Namibia Wildlife Resorts for the latest fees when making your booking.
How to book
Namibia Wildlife Resorts
Cape Town Office
Telephone: +27 (0)21 422 3761
E-mail: [email protected]
The September 2015 issue of Getaway magazine is dedicated to all things walking and hiking, with inspiring stories, gear reviews and great competitions galore. Get your copy today.


