February is the month of love and, no matter whether you’re trying to catch a special moment with your partner or shooting a picture they’ll remember forever, here are 10 tips for taking great self portraits.
Tip 1:
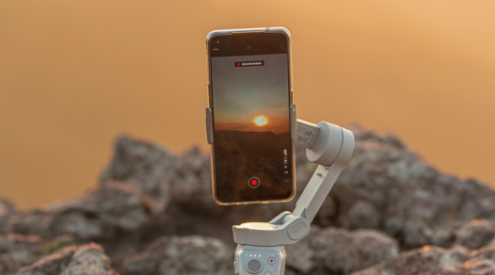
Ideally use a tripod, so you can set up the camera exactly as you want. Failing that, find a suitable rock, car roof or other surface on which to place your camera. Cushion the camera with a jersey or something similar, as this allows a little flexibility when aiming your lens.
Tip 2:
Use manual focus so the camera doesn’t focus on the wrong part of the picture. If you’re alone, fix a spot where you’ll be positioned and focus there (it can even be a point on the ground, if you have nothing else to focus on).
Tip 3:
Find the self-timer button on your camera. Some models offer various delays; I’ve always found more time is best, so I set my self-timer on the max (that’s 20 seconds on my Nikon). Even better is the infrared remote that some cameras come with, allowing you to trigger your camera from a distance.
Tip 4:
You need to compose the picture with yourself in mind because you can’t see exactly how the shot will turn out. Arrange the scene and your partner in the composition, then push the button and run around to get into the shot. This process often needs repeating as invariably the damn camera will go off just as you look away.
Tip 5:
When composing a shot of yourself and your partner, make sure your faces aren’t on the same level. Don’t stand directly one above the other either. If you want to arrange yourselves vertically (gosh, that sounds terrible, I’m blushing) the taller person should be above and a little to one side.
Tip 6:
Watch your hands (this is getting even steamier) – hands and arm positions are critical in portraits. Try not to let your arms just dangle beside you. Keep them slightly bent with your hands presenting their sides to the camera. Shoulders look best angled slightly towards the camera, rather than square on.
Tip 7:
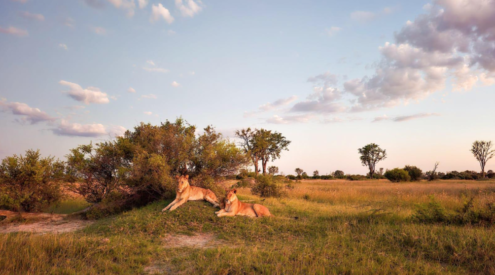
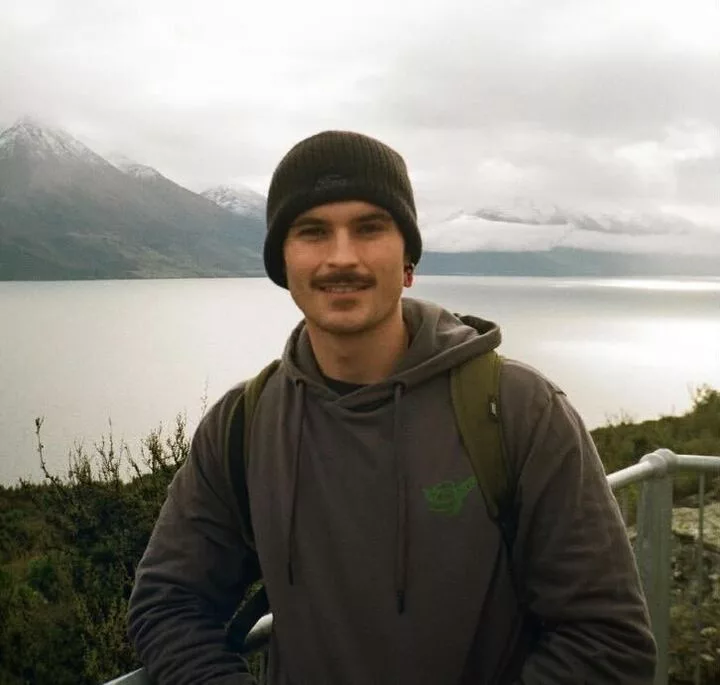
Don’t limit yourself. You can shoot wide-angle landscapes with yourself in the shot – the only limitation is how fast you’re able to get into the picture.
Tip 8:
Backgrounds and depth of field can make or break portraits. If you’re shooting a picture showing where you are, make sure you have enough depth of field to keep the background in focus (use a high f-stop such as f8 and above). If you’re looking for a more intimate feeling, use a longer lens and blur the background using a lower f-stop (such as f2.8). Be aware of distracting background objects – a tree ‘growing’ out of your head will ruin the image.
Tip 9:
Portraits are best shot with a medium-length lens of 70 to 100 mm. If you use a wider angle, say 20 mm, be careful to position your subjects further from the camera, so they’re elements in a much wider scene. If you want a wide-angle close-up, ensure the faces are in the centre of the frame as the edges tend to be slightly distorted.
Tip 10:
When shooting bigger groups of four or more, arrange people carefully. Try to get the tallest individuals in the middle (remember to work out where you’ll be) and allow shoulders to overlap. One trick to make sure no-one is obscured is to ask everyone to position themselves so they have a clear view of the lens; if they can see the lens, the lens can generally see them. The idea is to make the group as compact as possible without squashing them all in. Groups are always a challenge, so take a few options and keep everyone smiling and laughing: a happy group makes for a happy picture.
For more inspiration on self portrait photography go to tiny.cc/SelfPortaits.

