I’ve always been a slightly suspect candidate for travel photojournalism because the truth is, I prefer shooting in black and white. Now, honestly, you don’t see that many travel magazines featuring images in black and white. Travel seems to be a very colorful thing. People want to see blue skies, green trees, yellow bikinis. Colour is fun, shiny, juicy and attention grabbing. Black and white is newspapery and somehow more serious.
But shooting black and white gives photographers the chance to see things in a way that’s not possible otherwise. It strips away the seductive facade of colour and reveals the substance in the surface – line, shape, texture, pattern. These are what form the skeletons of all great images. As a result, practising black and white photography can improve your general photographic skills. It can also generate some really beautiful and worthwhile photos you’d never have dreamed of taking otherwise.
By the way, if you’re a keen black and white photographer, or if you get some good results after trying these tips, you may want to enter our Black and White Photography Competition on Facebook.
Taking black and white photographs
I’m going to assume you’re all shooting with digital cameras. (If you’re not, let me know and I’ll write a special post just for all us die-hard film-users out there).
First up, don’t let your camera do any of the processing for you. This means that if your camera can shoot in RAW, shoot in RAW. This will allow for better results later when you can go bonkers converting the image. If your camera doesn’t shoot RAW, shoot in the best quality format it’s got. How do you tell if it’s the best quality format? Usually pretty simple: it’s the one that uses the most memory.
Shooting on a B&W setting in RAW will still store all the info, which is pretty handy as you’ll be able to get an idea of how the pic will look immediately. If your camera doesn’t do RAW, shoot in colour. If you allow the camera to do the black and white conversion for you, you’re going to get instant results, but they won’t allow for much improvement later as most of the oomph in processing black and white images actually comes from manipulating colour. For people stuck using JPG, you could try shooting test shots in black and white first, then switching to colour for the main shot. Obviously this isn’t going to work for moving subjects.
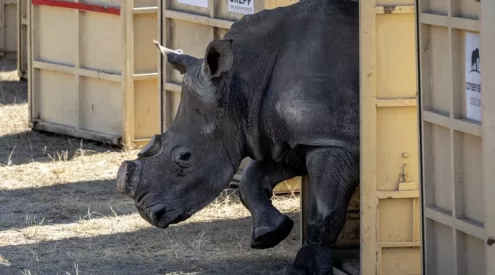
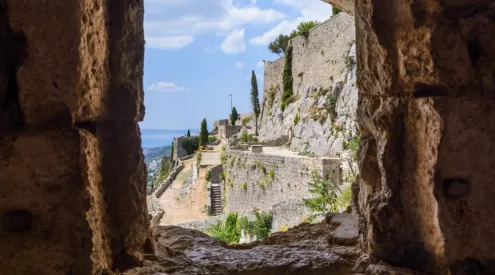
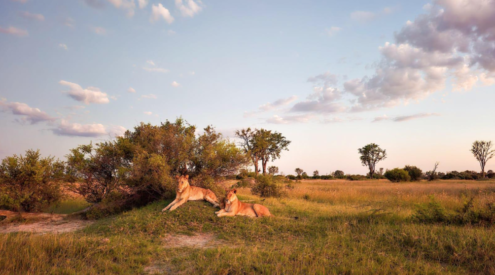
Good subject matter for black and white photography? Pretty much everything you’d shoot normally: wildlife, architecture, portraits and landscapes take on a whole new dimension, transforming snaps into, well, art. Pay attention to that stuff I mentioned earlier, the bones of photographs: line, texture, shape, contrast, highlights and shadows. That’s what’s going to make the photo work.
Some unexpected bonus material for black and white photographers is sport and action shooting, which comes out looking especially cool. I’ve had hours of fun photographing football matches in black and white infrared.
Bad subject matter? Stuff that relies entirely on colour for impact, like sunsets (although silhouettes still work).
Remember that even though you can no longer use colour to lead the eye through the composition, there are other, more powerful, ways to do this: use line and perspective, highlights and contrast. Still having trouble? Open your aperture for low depth of field to focus attention on the main subject.
Something that black and white film photographers do to improve the tonal depth and contrast in things like skies is to use colour filters – usually yellow, orange and red (with red making blues look almost black). You can do this with digital cameras as well, although it’s not actually necessary because you can use colour filters and channels in your processing instead. However, a useful side-effect of using colour filters is that they help you see the image in monochrome through the view finder.
One last tip: shoot in the lowest possible ISO to reduce noise. Different colour channels have different amounts of noise (blue has the most and green the least) and you never know which one you’re going to end up relying on most. Noise also becomes more noticeable in B&W than in colour, so best keep it down to a minimum. But you want that grainy look I hear you say? Add it in later – it’s easier than trying to get rid of it.
Processing black and white photographs
There are a ridiculous number of different ways to convert a colour digital image to black and white, so all I really want to say here is: don’t simply desaturate or switch to grayscale. Both these methods are going to lack punch and won’t give you the fine control over the end result. Remember, there’s lots of info in there and your job is to bring out as much of it as necessary to create the effect you’re going for. The most important tip I can give here is: try everything – experiment and have fun!
Here’s a great tutorial I found on converting a colour photo into black and white
There’s also a brief demonstration in the image browser above of a portrait I quickly converted to black and white in three easy steps. However, it bears repeating that the way you choose to do this is going to depend: 1. On the image 2. On the software you use. 3. On your personal preferences.
(Btw, if you want to create an awesome pseudo-infra red effect like the one in the pic of the donkey cart, whack up the greens and yellows and clamp down the blues.)
Black and white photography tips from the Getaway team
Black and white is all about drama and energy. You need to find fantastic subjects that don’t need colour to ram them home. – Cameron Ewart-Smith, Getaway Editor
Shoot when you shouldn’t. Traditionally photographers complain about midday light quality but shooting B&W in the middle of the day can return some satisfyingly contrasty results. – Evan Haussmann, Getaway photojournalist
Black and white photography tips from our Facebook fans
Look for lots of textures and different shades! This way your picture won’t be blended too much. – Roane Swindon ??
Most people won’t take photos if the sun ain’t shining. But grey and overcast skies make for great black and white photos. – Rachel Moncrieff-Robinson
Any black and white wildlife photo works well with overcast weather. Water shimmer in sunlight makes for great photos as well. Sometimes the smallest shadow can be very eye catching in B/W. – Gerhard van der Westhuizen
Use more control over your black and white processing. Don’t just do it the quick way. Adjust those channels manually. You will be much happier with the results. – Dionne Swart
??Nik Silver Efex is a great plugin for creating black and white photographs in Photoshop or Lightroom. Sure you can use channels for ultimate control, but Nik is simple and quick to use with great results. – Ian Weatherburn
My three favourite black and white photographers
Ansel Adams – landscapes were never safe from being immortalized with this guy around. Managed to elevate photography to art.
Henri Cartier Bresson – French street-turned-war-photographer and founder of modern photojournalism. Caught the decisive moment without the distraction of colour
Edward Weston – could make a green pepper look incredible in black and white. Loved shells, rocks, trees and the 8×10 format.

