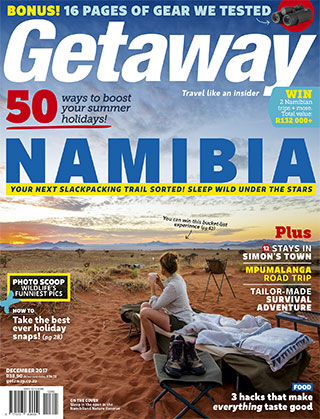
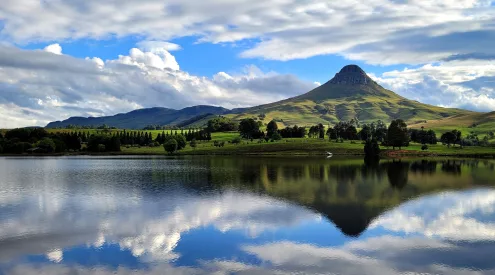
In our December 2017 issue, Chris Davies heads to a beautiful kloof near McGregor for a survival-light weekend that the whole family can enjoy. Outdoor and survival expert Hunt Cheney leads these, and more intensive survival training courses across South Africa. Here are some of his tips to stay safe in the wild.
Also read: How to survive hiking the Fish River Canyon
Raised in Kruger National Park, Hunt Cheney began learning his craft at the age of five and once spent two months alone in the Kruger bush (deliberately), surviving with nothing but his shorts and T-Shirt.
Most of us will never find ourselves in a life or death survival situation, let alone two months of total isolation, but if the worst does happen, it’ll probably be while hiking. We asked Hunt what gear he takes when he goes hiking, and whether he has any packing tips to share.
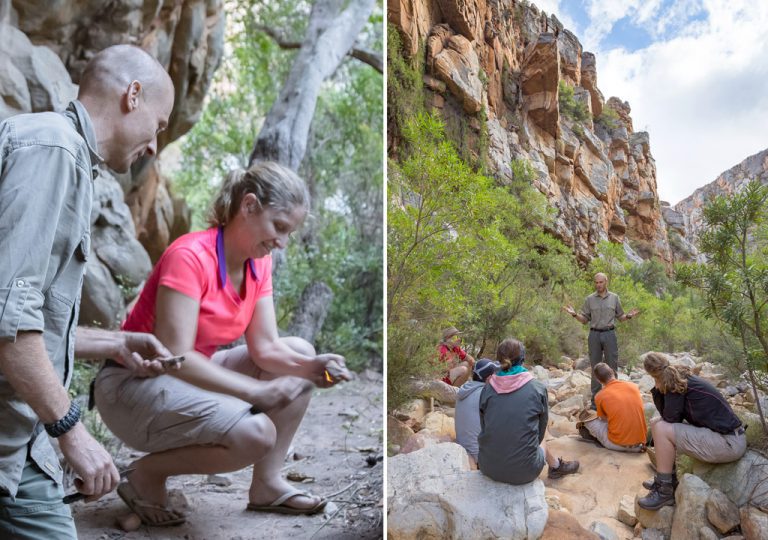
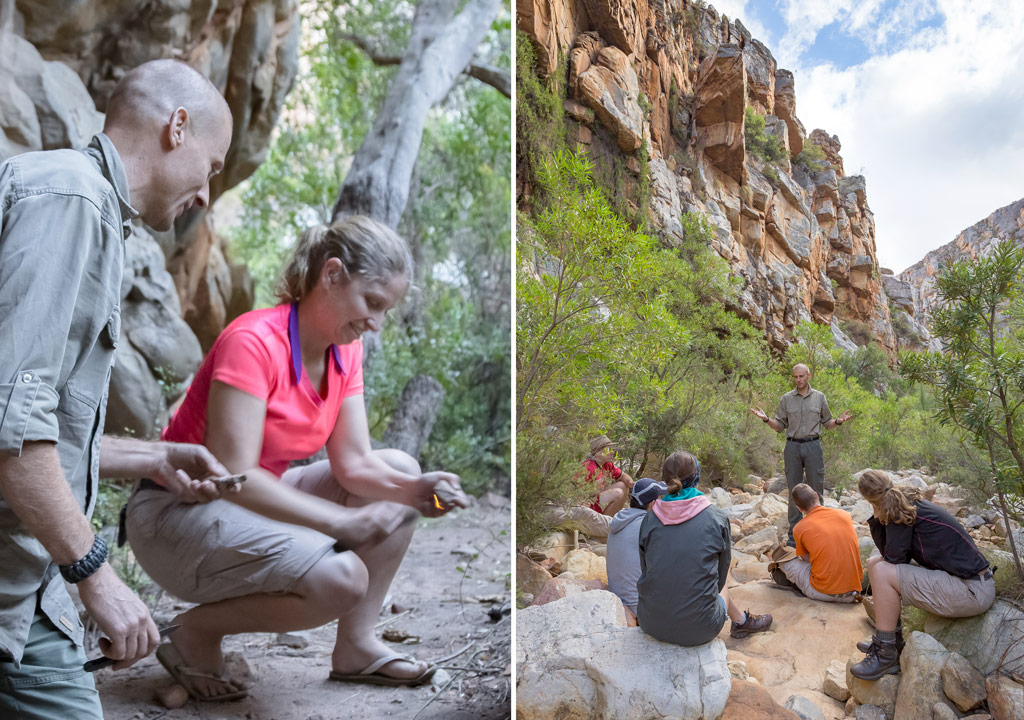
LEFT: Learn to make fire with tools that can get wet. RIGHT: A relaxed bush school the whole family can enjoy.
First, choose the right backpack
1. Choose a backpack with a tubular design
A tubular design is easier to balance, and an unbalanced backpack will tire you out much sooner than you expect. Unbalanced packs also increase the risk of a twisted ankle or a fall, and protruding pockets and unnecessary straps can be dangerous if they catch on rocks or branches.
2. Buy the smallest backpack possible and don’t overfill it
Your backpack should be big enough for essential items (see below) and food, but aim as small as possible. Whatever the size of your backpack, there’s always the temptation to pack it to maximum capacity. The smaller your bag, the more economical you’re forced to be, and this will help keep the weight down. Never hike with a pack that’s more than a third of your body weight. If possible try and make it much lighter.
Also read: 10 African hiking trails
3. Pay close attention to the straps
Your backpack’s waist strap will take most of the weight and needs to be wide and well padded. It must sit comfortably above the hips when fastened and the area where the strap joins the bag also needs to be well-padded and stiff so that it distributes as much weight to the strap as possible. With the weight on your hips, your shoulders should feel almost completely unburdened. Because they don’t take much weight, shoulder straps don’t need to be bulky, but do need to be adjustable so that you can pull the backpack close for better balance. Finally, make sure there’s a sternum strap to connect the two shoulder straps across your chest and stop them slipping off while walking.
Also read: Hiking shoes and walking gear tested
Now make your backpack waterproof
It’s essential for every survival situation that your clothing remains dry. External rain covers are not the answer. They tend to work only in very light rain and can be completely ineffective in the wind. They are also useless when things get really wet – an accidental plunge into deep water for example.
The most effective way to waterproof your pack is to line the inside with a dry bag. Buy one that is slightly larger than your backpack so that it completely fills the main compartment and has enough extra space at the top for a tight seal. Once sealed, the dry bag will also serve as a floatation device so if you do fall into water your bag won’t drag you under.
Also read: 8 of the best Drakensberg hikes recommended by experts
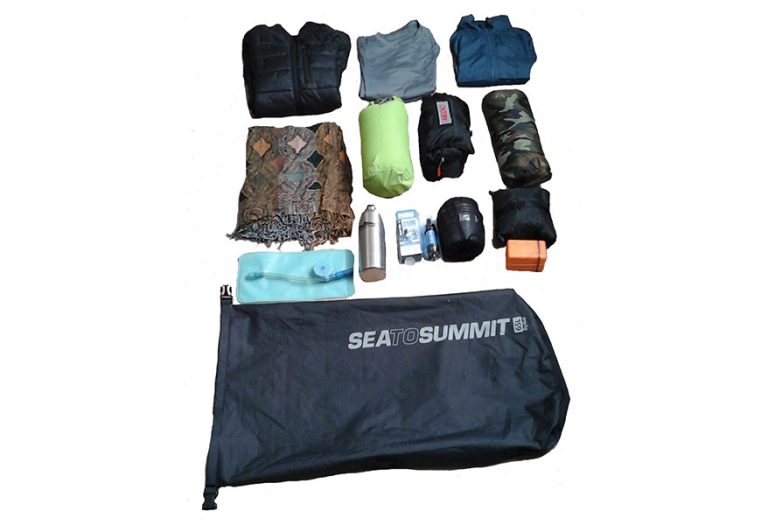
Pack everything into a single, large dry bag, and use a few smaller dry bags for your sleeping bag and emergency clothing.
What to pack and how to pack it
Prepare yourself for any eventuality with these essential survival items:
Clothing and sleeping gear
1. A long-sleeve down jacket, packed into a small separate dry bag
2. Long, thermal underwear (top and bottom)
3. A pashmina. Light and warm it can be used as a scarf, towel, head wrap, etc.
4. A soft-brimmed hat (for the sun) and beanie (for the cold)
5. A water- and wind-resistant shell jacket
6. A pair of tough gloves. Hand wounds can be a disaster in a survival situation
7. Clear, or light-enhancing eyewear. For protecting the eyes, especially when moving at night
8. A down sleeping bag. For extra waterproofing, pack it into its own dry bag
9. A hammock with a fly sheet. Small and lightweight, they can replace a tent and bedroll
10. A waterproof tarp. Big enough to use as a shelter (3×3 metres)
Also read: Hiking meals tested
Survival kit
1. An emergency Mylar/space blanket or poncho
2. A compact, but comprehensive medical kit with medication for pain, allergies, nausea and vomiting, diarrhoea, dehydration and hypoglycaemia
3. A water filtration straw and purification drops
4. A small cooking set and gas stove
5. Three ways to start a fire, including two that can get wet (magnifying glass, flint and steel)
6. A slow-burning candle for light and fire starting
7. Two metres of cord. 550 Paracord is best
8. Roll of duct tape. Attach a small roll to the outside of your pack for easy access
9. Stainless steel water bottle (at least 1-litre) and a separate water bladder for drinking on the move
10. A couple of clear plastic refuse bags for collecting water
11. A few condoms – useful for carrying extra water, tourniquets, and can even be used to start fires (see the December issue story for details)
12. One sharp, full-tang, carbon-steel knife. This is your most important tool in a survival situation. Pick one that fits your hand comfortably, has a single piece of steel from tip to butt, with a blade about 12cm long; big knives are less versatile, heavier and harder to sharpen. Carbon-steel blades are easiest to sharpen and the back of the blade will produce a spark when struck with a hard stone
Finally, when packing your gear, try to pack the heavier gear against your spine with the lightest items on top and equal weight on either side. Remember to pack your rain jacket last so that it is accessible if needed suddenly, and make sure all loose straps are secured and neat so they don’t catch on anything as you walk. Short, cut sections of bicycle-tyre tube are great for this.
Get your hands on our December issue to read more about how to survive in the wild.
Our December issue features an incredible slackpacking desert adventure in Namibia, 50 ways to boost your summer holidays here in SA, 12 stays in Simon’s Town and a Mpumalanga road trip we might like better than the Panorama Route.
