A hot shower in the wilderness isn’t just a luxury. It’s totally achievable when you’ve got the right setup. Here’s everything you’ll need to build a makeshift shower (otherwise known as a drip shower) and how to do so.
ALSO SEE: Tips for battling bugs and mosquitos on hikes
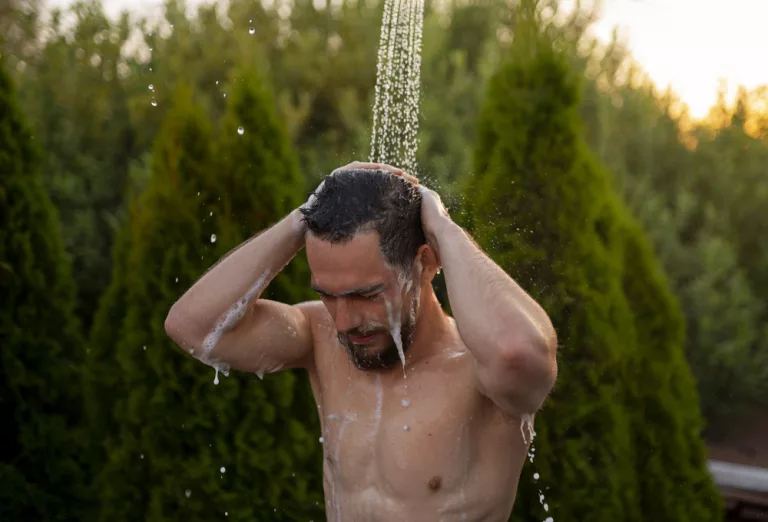
Image: Freepik
What you’ll need to build a drip shower
- Every functional drip shower starts with a sturdy dry bag (preferably dark-coloured for better solar heating) with a decent capacity between 4 and 10 litres.
- You’ll also need about 4-6 metres of paracord, a carabiner, and a small bungee cord.
- Duct tape is another must – this will help you create and manage water flow.
Where to build a drip shower
There is a checklist to follow when scouting for the ideal shower spot.
- Look for a tree with a strong branch approximately 2-2.5 metres high that can support your water bag.
- The ground beneath should offer good drainage to prevent muddy conditions (alternatively, you could lay down some tarpaulin).
- Surrounding natural features like trees or bushes can give you a bit of privacy, while adequate exposure to the sun ensures warmer water for evening showers.
How to build a drip shower
The key to an effective drip shower lies in the set up! Follow these five simple steps:
Step 1
Start by making small holes in one bottom corner of a dry bag and cover using duct tape. Remember to start with smaller holes – they can always be enlarged if the flow isn’t sufficient.
Step 2
Then, fill the dry bag with water and roll the top down three to four times for a secure seal.
Step 3
Loop the paracord over your selected branch, then create a secure attachment point for the water bag. Connect the bag using the carabiner, and install the bungee cord as a stabilisng element to prevent unwanted swaying.
Step 4
Now it’s time to check your water flow and make any necessary hole size adjustments.
Step 5 (optional)
Consider installing a privacy screen if you don’t have much natural coverage. You can also lay down a section of tarpaulin to avoid muddying up your feet during the shower.
Warming water
Timing and positioning make all the difference in water temperature with a drip shower.
Position the filled bag in direct sunlight during the day for natural heating. A dark-coloured bag will absorb more heat, awarding you with a slightly warmer shower experience. The ideal shower time is typically late afternoon when the water has had maximum sun exposure.
Conserving water
A properly configured 4-litre bag should provide 4-5 minutes of steady shower time. This might seem brief, but it’s plenty of time for an efficient wilderness shower. The key is managing water flow through properly sized holes – too large, and you’ll waste water; too small, and you’ll struggle to rinse off effectively.
Keeping the environment in mind
Even a drip shower has environmental impact. Make sure to maintain a minimum 60-metre distance from any natural water sources when showering. Use only biodegradable soap, and be mindful of ground erosion. The shower area should be selected with convenience and environmental protection in mind.
When set up correctly, this simple addition to a standard camping experience transforms basic wilderness stays into more comfortable, sustainable adventures.
ALSO READ: 16 First Aid Items You Should Never Forget To Pack On A Bush Break
Follow us on social media for more travel news, inspiration, and guides. You can also tag us to be featured.
TikTok | Instagram | Facebook | Twitter


